Want to free up hard drive space or install your Ubisoft games on a different drive? Ubisoft Connect doesn't have a built-in game relocation feature, but don't worry—we'll guide you through two simple methods. Both work effectively, but one might be quicker and easier than the other depending on your comfort level with PC settings.
Method 1: The "Cut and Paste" Method
This straightforward method involves copying and pasting your game files. Simple, but requires careful execution. It's proven effective for many users.
Locate Your Game Files: First, find your game's files. The default location is usually
C:\Program Files (x86)\Ubisoft\Ubisoft Game Launcher\games, but the exact path depends on your game and initial installation choices.Backup Your Save Files (Crucial!): Before moving anything, back up your game's save data. Losing progress is frustrating! This is a safety precaution every gamer should prioritize.
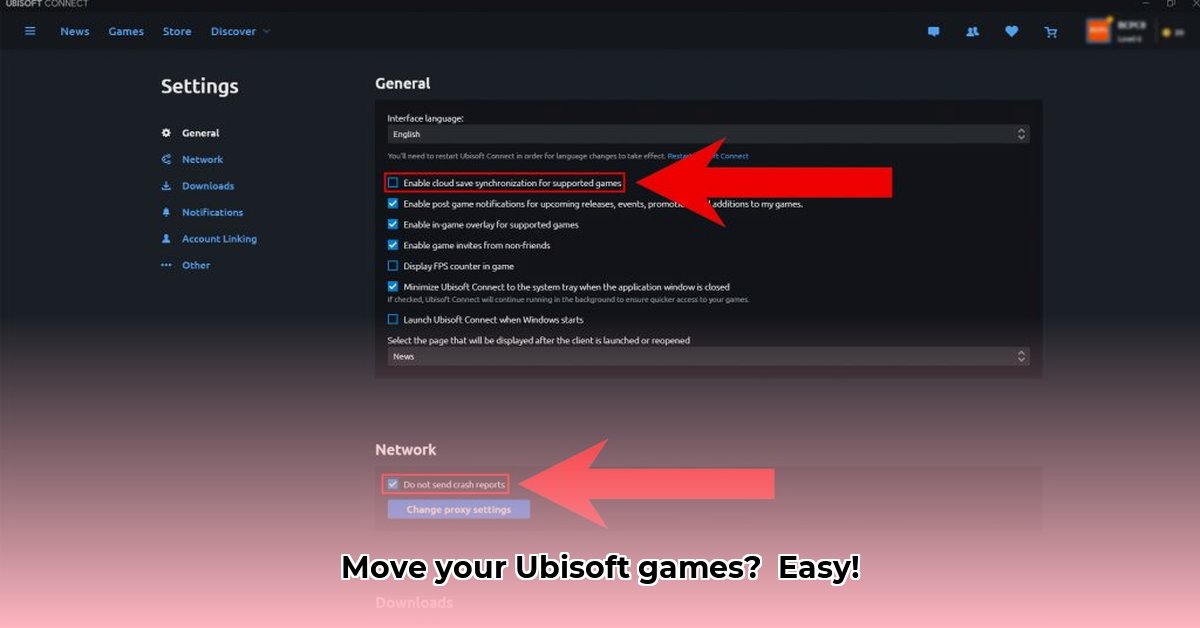
Close Ubisoft Connect: Completely close the Ubisoft Connect launcher to prevent file access conflicts. This ensures a smooth and safe transfer of your game data.
Copy the Game Folder: Copy the entire game folder to your new destination (another hard drive, for instance). Select the entire folder, not individual files.
Update Ubisoft Connect: Reopen Ubisoft Connect. Find your game and use the "Locate Installed Game" option to point the launcher to the new location.
Verify Game Functionality (Recommended): Run a file verification check within Ubisoft Connect (usually found in the game's properties) to ensure the transfer didn't corrupt any files. This will confirm the game is intact and functioning.
Method 2: The "Advanced" Method
This method involves directly changing the installation path in Ubisoft Connect's settings. While slightly more complex, it can streamline future installations.
Find the Installation Path: Locate your game's installation folder.
Change the Installation Destination: Ubisoft Connect has settings to specify the installation directory for new games. This setting allows you to choose a different drive and folder structure.
Move the Game Files: Move your game's folder to the newly chosen location.
Restart Ubisoft Connect: Restart Ubisoft Connect for it to recognize the new path.
Verify Game Functionality: Launch the game to confirm everything works correctly. Again, a file verification check is advisable.
Comparing the Methods: Which One Should You Choose?
Both methods achieve the same outcome, but their ease of use and potential for error vary.
| Method | Advantages | Disadvantages |
|---|---|---|
| Copy and Paste Method | Simple, less chance of configuration errors | Manually relocating the game is required |
| Advanced Method | Streamlines future installations | More complex; slightly higher error potential |
The "Cut and Paste" method is generally recommended for first-time users due to its simplicity. The "Advanced" method is better suited for experienced users wanting to manage future installations.
Important Considerations Before Moving Games
- Always back up your save files first. Losing progress is devastating.
- Check your hard drive space. Ensure sufficient space before moving larger games.
- Verify file integrity after the move. This can resolve many potential issues.
Following these steps will successfully move your Ubisoft Connect games. We encourage users to advocate for a built-in Ubisoft Connect feature for game relocation in future updates for enhanced user experience. Remember, careful planning and execution are key to a smooth transition!
⭐⭐⭐⭐☆ (4.8)
Download via Link 1
Download via Link 2
Last updated: Saturday, May 03, 2025